Currency
Painting With Light Part 1. with Tony Worobeic
17/Nov/2021

1) Introduction.
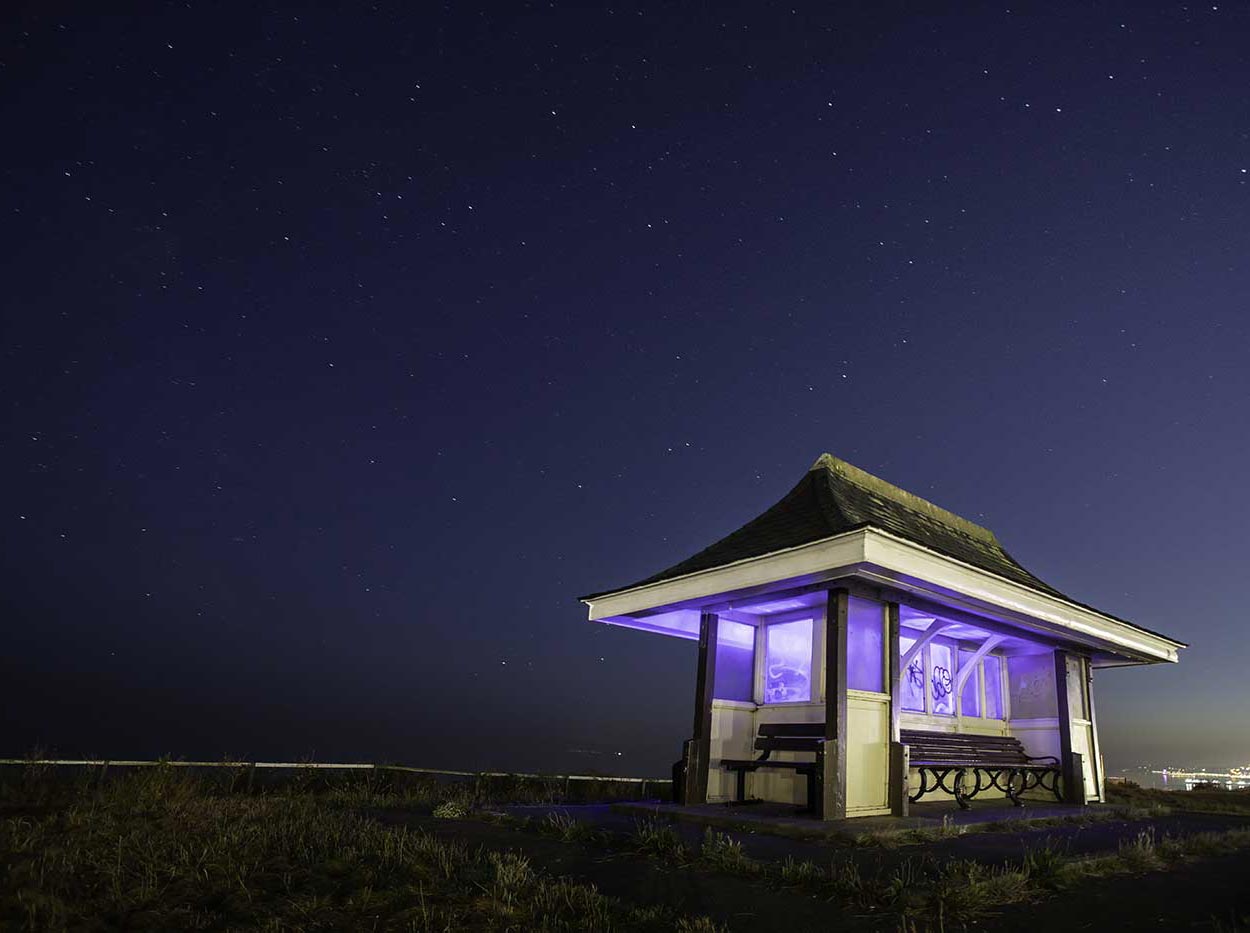
With travel restricted due to COVID, I did struggle a bit to keep my photographic mojo going, until I teamed up with a couple of friends and experimented with light-painting. If you go on to the internet you will be amazed by how many truly exciting videos there are featuring quite amazing techniques, but I have come to the conclusion that each of these are a bit like a graffiti-artists "tag". The aim of this and my next blog is to introduce you to some of the things you can achieve quite easily, and hopefully encourage you thereafter to develop your own unique light-painting "tag". In this first blog, my intention is to show you some very simple techniques you may wish to try, which involves illuminating simple outdoor features. It could be an old church, an abandoned potting shed or as in this example, a partially vandalised sea-side shelter.
2) Using a flash-gun
Don't overlook the blindingly obvious. Many of us own a flash-gun, but I wonder how many of you regularly use one. During these darker months, it really is the ideal time to experiment with selective illumination, something which you can easily apply with a flash-gun. These do of course vary in terms of sophistication, but mine has a lead which allows me to direct a pulse of light from a variety of angles. In this example , whilst my camera is set on the tripod directly in front of this abandoned vehicle, I was able to set off the flash to the left of it. This way the lighting appears less severe. When using flash, the lighting will be incremental, meaning that the foreground, (in this example the grass in front of the car), will be brighter than the rest of the picture. That can be easily remedied by making a gradient selection from the bottom upwards and in either Photoshop or Lightroom subtly darkening it.


3) Using a hand-torch
No, seriously! It is often assumed that painting with light needs to be unnecessarily complicated, but very impressive results can be achieved when using a simple torch that can be bought from your local petrol station. The term "painting with light" really does apply here. Effectively you are using the torch just like a brush where you are very consciously illuminating the building without affecting any other parts. Try to work from the top downwards. It doesn't matter if the rays from your torch drift into the sky as it is so distant it cannot possibly be affected by the light from the torch. If you do accidently illuminate the foreground in front of the subject, once again that can be remedied in Lightroom or Photoshop.
4) Err on the side of subtlety
This old jetty was about 50 yards away, however I have bought quite a powerful Anker hand-torch which is capable of illuminating subjects from quite a distance. The sun had set directly in front of me, so what I was seeing was a darkened silhouette. All that was required was a single sweep of light applied with the torch. Ideally keep your torch moving, otherwise you will experienced tell-tale hot-spots. It is a matter of personal taste, but I prefer to slightly under-illuminate the subject. No doubt some of you will be wondering what exposure you should give your shot in these circumstances. Simple, just rely on your normal camera metering for the overall shot; the additional light given by the torch merely lightens an area which might otherwise have appeared dark.

5) Using a Ulanzi Light Unit
These Ulanzi video RGB lights can be bought online and have the advantage that you can select any colour you want. In these two examples I chose the colour yellow. Both the shots are of Horton Tower, in Dorset. Example 4a was taken very shortly after sunset when there is still quite a lot of light still in the sky. The Ulanzi lights are cubic in shape and are very easily placed on the ground. I placed the light just below the door of the tower making sure that the source of light was slightly obscured by long grass. The effectiveness of the light is reduced precisely because there is still light in the sky. Example 4b was taken about two hours later; here we have a clear and much darker night sky, so by comparison to image 4a the tower appears much more dramatically illuminated.

6) Mix and match
This is St Catherine's Chapel located on a hill on the outskirts of Abbotsbury, Dorset. Once again I was blessed with a clear night sky. The technique I used here was very similar to the previous shots of Horton Tower, except this time I opted to use the Ulanzi light set to purple. I generally find when doing this sort of thing it is best to use a wide angle lens, as it allows you to include the building and a large expanse of sky. The top of the building has been illuminated using my Anker hand-torch; it is very easy to overdo it, so the general rule is err on the side of caution. In this example I gave it just two sweeps with the beam of light. Mixing purple with yellow in this way often works, as they are opposites on "The Colour Wheel" which helps to increase the visual impact.


7) Using multiple Ulanzi Light Units
As I explained in my introduction, I often go out light-painting with a couple of other friends, so we regularly pool together our Ulanzi light units in order to increase the impact. These two images have been taken of an old abandoned pill-box on Kimmeridge Beach, a relic dating back to the Second World War. As you can see from both illustrations, one light has been placed inside the pill-box, whilst a second one was placed outside. In image 7a, very slight additional lighting has been added to the shore using a simple hand-torch. In image 7b, the cliffs on the left side have been illuminated by the headlights from a distant vehicle. Not everything will be under your control, but with this genre of photography, you should be prepared to embrace the accidental. So, what paper might I suggest you use in order to achieve a wonderful print. Why not try Fotospeed Gloss 270? This paper has a distinctive "high white point" which seems to complement the luminescent effects one achieves with light-painting. I certainly haven't been disappointed.


In my next blog I will discuss the many creative techniques you can apply when using multiple light units to literally "paint with light".
These type of images would look lovely printed on a metallic paper like Fotospeed's Metallic Lustre 275, Metallic Gloss 275 or Metallic Pearl 295 or Hahnemühle's Photo Rag Metallic 340.
Want to learn more about printing or photography? Sign up to our newsletter for the latest insights from the experts at Fotospeed!