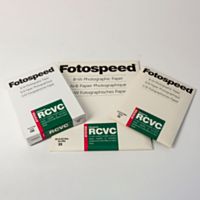
How to create a deckle edge on your prints
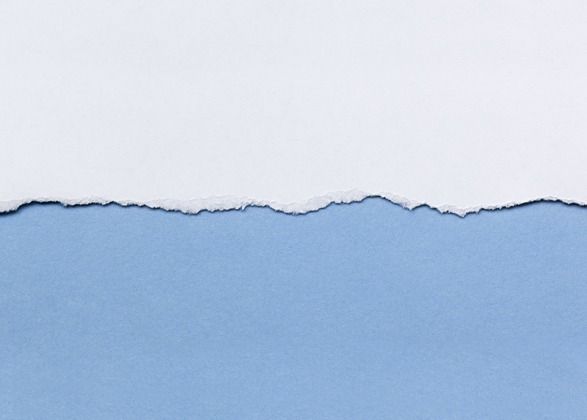
A deckle edge is a great way to add a slightly different effect to your final print. The torn edges can help your images pack an extra punch and look great when mounted against a dark background. There are many ways to create this effect on your prints, but here are our best tips on how to create a deckle edge to achieve a different look for your prints.
What is a deckle edge?
Originally, it was impossible to create paper without a deckle edge, meaning that the feature started off as a naturally occurring aspect of paper manufacturing. At the turn of the 19th Century, the Fourdrinier machine was invented. This machine made paper in long rolls which could then be cut into individual sheets, rendering the deckle edge practically obsolete.
These days, a deckle edge – a feathered edge, as opposed to a straight cut edge – is used for artistic effect.

Choosing your paper
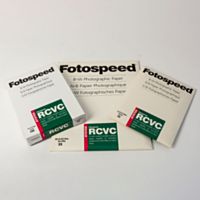
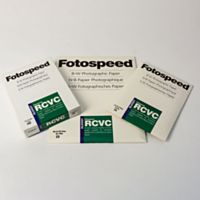
Different papers will give you different effects. The softer and less stiff the paper, the closer you’ll get to a ‘true’ deckled edge, which is softer and featherier. However, a thick, durable, fibrous paper also works really well – it just gives a slightly different effect. Cotton papers also often deckle slightly better than wood pulp papers, but it is all down to your preferences. Using a test pack is a great way to find out which paper will give you the effect you want.
The tools
There are many DIY ways to create a deckle edge on your prints, including tearing along slightly wet paper or paper that has been scored and folded. The quickest – and easiest –way to create a deckle edge, however, is to use a deckle edge ripper. These are inexpensive tools which will make the whole process much easier.
The set up
Ideally, you’ll want to use a table with a square edge (rather than a rounded one) to create your deckle edge. To get the best results, place your deckle edge ripper exactly parallel to the table edge, with the paper hanging off the edge where you want to create the tear. Make sure you rest your print on something to keep it protected as you work.
Choosing sides
Creating your deckle edge with the image facing up and facing down will give you slightly different results. If you tear with the image facing up, you’ll get an interesting white reveal on your edge, but face the image down and your image will run right up to the tear.
Mastering the pull
There’s a certain knack to getting the right ‘pull’ to create your deckle edge. The trick is to pull up towards you, as well as slightly into the deckle edge ripper as you hold it down. This will give you the best results in terms of looking like the tool’s intended output, but feel free to experiment with pulling really close to the edge of the ripper and being a little more lax by pulling slightly away from the edge, as you’ll achieve slightly different results.
Displaying your image
If you’ve gone to the effort of creating a gorgeous deckled edge, you better had show it off! We’d suggest either mounting your image on a dark or black background, or floating your image in the frame to make the most of your hard work.
And that’s how to create a deckle edge on your prints!
Our Deckle Edge ripper is available here for just £19.99. To find out more about how to get the best out of your prints, check out our blog or get in touch with our support team!
If you would like to stay on top of all the latest information from Fotospeed don't forget to sign up to our Newsletter


