How to create the perfect panorama - a step-by-step guide
-->
Derek Doar started out in photography at the age of 16, printing black and white images in the darkroom. Derek’s first love is Landscape Photography, his two favourite areas being the Derbyshire Peak District and the Isle of Harris. He has always loved images in the Panoramic format and has been creating panoramic prints for a few years. Here, Derek shares his tips on how you can capture the perfect panorama.
Derek uses Fotospeed’s Platinum Etching 285gsm, Platinum Gloss Art Fibre 300gsm, Platinum Baryta 300gsm, NST Bright White 315gsm and Platinum Etching 285gsm Panoramic papers.
You can find out more about Derek here.
Visualising exactly what you want to capture
When it comes to shooting panoramas, it can be all too easy to fire off a sweep of images across a chosen landscape and hope that they will all be able to be stitched together later. When you look at a scene, it is always a good idea to know the area that you wish to capture – decide where your panorama will begin and end and also what needs to be captured at the top and bottom sections of your scene.
It can often be easy to fall into the trap of trying to capture too wide a panorama. This can sometimes look unnatural and lack real overall credibility. Instead, aim to capture a panorama with a ratio of about 3:1 which is the standard for panoramic images. I often find it’s beneficial to use a piece of cardboard with a 3:1 ratio cut-out in it to help you in the field, and compose your perfect panorama from the scene in front of you.
Method 1: Single image (capture a 3:1 ratio panorama on a 3:2 ratio camera)

When shooting a single image panorama, frame your intended panorama in the top half of your viewfinder. If necessary, change to a lens that will allow you to do this.

Re-frame your intended panorama in centre of the viewfinder. This is the sweet spot of your lens and avoids possible soft corners.

Next, re-position your focusing point to capture your panorama out of the centre.

Here, you have your finished panorama, cropped out of the centre of the image and processed.
Method 2: Multiple images taken as a set
The second method of creating a panoramic image is through taking multiple images that can be then stitched together. When capturing your image, make sure the camera is as level as possible. Just as the pupil of your eye is the centre of the world it sees, so is that of the No-Parallax Point/Entrance Pupil of the camera lens. It is around this point that you want to rotate the camera.
It is important that when panning your scene to capture the set of images, that your camera revolves around the No-Parallax Point of your chosen lens. Failure to rotate the camera about this point is very likely to result in visible stitching errors. Precise positioning of the No-Parallax Point is critical if your subject matter is close, but much less important if you're shooting distant landscape shots.
Visualising the area for the panorama
Before you set up to take the panorama, examine the area. Determine your left and right start points and your upper and lower limits, then add space all around at the taking stage to allow for cropping the stitched image at the processing stage.

When looking for how to overlap your images, 1/3 to 1/2 overlap is the norm. Start by taking your first image and note a point on the landscape on the right-hand edge of your image. Move your centre focusing point to that spot – you now have 1/2 overlap.
Tips for camera settings
Exposure: Set your exposure to manual so that it is the same for each captured image in the set (allow for the lightest and darkest part of the panorama in your exposure setting). Do not use Auto Exposure.
White Balance: Use a manual white balance such as Daylight, Cloudy or a dedicated Kelvin setting such as 5500k. Do not use Auto White balance.
Focusing: Use the same manual focus setting throughout the captured set. Do not use Auto Focusing.
Aperture: Keep a constant aperture such as f11 throughout the captured set. This keeps the depth of field the same for each image in the set.
The Processing stage
Using Adobe Camera RAW, you are able to select your set of images and ‘merge’ them to panorama. Your stitched image will be saved in the same folder as the original RAW files as a new Panoramic RAW file and will be ready for further processing. For any white areas that have been lost in the image, use the Content Aware tool to fill these spaces. However, this tool does not always get it right and you may have to modify some areas of fill.
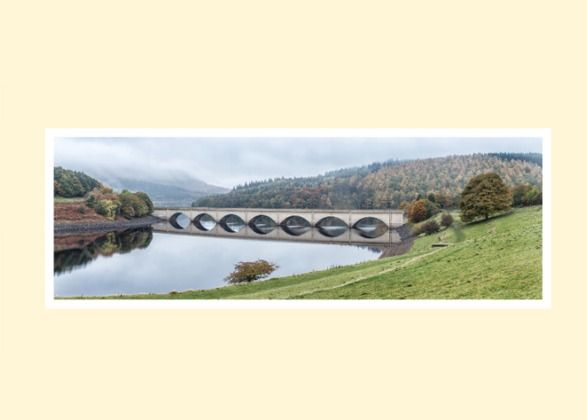
The final panoramic image:

Printing and mounting your panorama
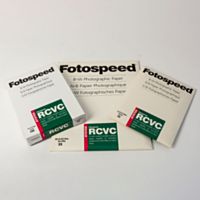
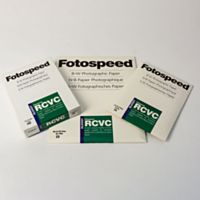
When printing my images, I use Fotospeed’s 594x210mm Panoramic paper. This paper is perfect for any photographer who wishes to both print panoramic images, but who also only has a printer capable of A3+ or A2. Its unique size offers the perfect 3:1 ratio, for a well-balanced panoramic image. It can also be printed on by almost any A4 (and larger) printer, due to its 210mm height.
I size my 3:1 panoramic images at 56cm on the longest side, which fits the Fotospeed paper perfectly, whilst leaving a 1cm border which I find not only enhances the print presentation, but allows anyone viewing your print see the base white of the paper as a reference to the highlights of your print (if you have processed your print to make sure that there are no burnt out highlights, referring to the base white border proves this for anyone viewing the print).

Want more ideas on how to improve your photography and prints? Check out the rest of our blog, or get in touch to see how Fotospeed can help!
If you would like to stay on top of all the latest information from Fotospeed don't forget to sign up to our Newsletter.


