How to print panoramic on your home printer.
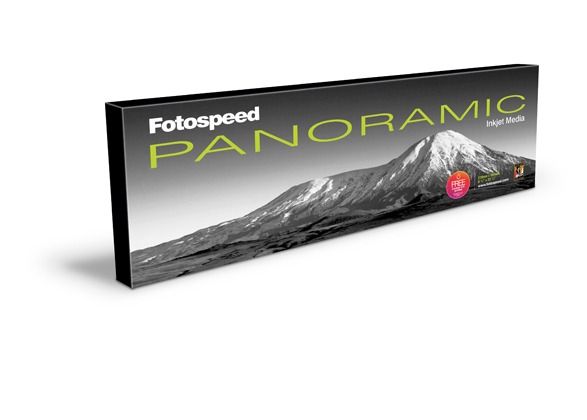
Panoramic photography arguably features some of the most breathtaking images available to print. The width on which the image is printed creates an immense sense of depth of field not seen on any other paper. Landscape photos especially are best suited for printing on panoramic paper or rolls due to the wide width and narrow height.
-->
Panoramic photography arguably features some of the most breathtaking images available to print. The width on which the image is printed creates an immense sense of depth of field not seen on any other paper. Landscape photos especially are best suited for printing on panoramic paper or rolls due to the wide width and narrow height.

Image: Derek Doar
Many photographers, both amateur and professional find printing a panoramic print on a normal computer a daunting task, however, if you use the right paper, have the knowledge and an excellent image, it doesn’t have to be that daunting at all. In fact, it’s quite a simple process once you know the process when using Fotospeed Panoramic Paper. Our paper allows you to print letterbox style images through your home printer with ease, without having the hassle of using a roll.
The first thing you need to do is find the right image. As we’ve said, the best type of image to use is a landscape image, with plenty of depth so the picture doesn’t come out boring or bland. Whilst this is not exactly a necessity, you’ll find it extremely hard to create an impressive print using any other kind of image.

Image: Paul Sanders
Once you have your chosen image, load up whichever software you use (Lightroom/Photoshop/ACDSee). There is no set template for panoramic prints, so you’ll have to create your own. The ideal measurements for Fotospeed Panoramic Paper are 210 x 592mm. Once you’ve set the dimensions, upload the image to the software.
Next, open up the print settings dialogue box where the printer driver can be accessed and open up the paper settings. This is where you will need to create a custom paper size, so click on the drop-down and select ‘Custom’ and then enter 210x594mm as done in your desired software programme. Once this is set, dependent on the printer, you will see the paper size change to panoramic in the small preview screen.
Now all the settings are finished, you need to fit your desired image in your software. There’s a good chance you won’t be able to fit all of your images inside the diameter constraints. Due to the sheer width of the paper, you’ll have to decide what looks and fits the best.

Image: Doug Chinnery
Once done, you’re ready for the best part, printing! We’d strongly recommend you buy a tester pack first. The Fotospeed Panoramic Test Pack contains 4 sheets of our entire available panoramic range. These papers include;
PF Lustre 275 - read more on this paper
PF Gloss 270 - read more on this paper
Platinum Baryta 300 - read more on this paper
Photo Smooth Pearl 290 - read more on this paper
Platinum Etching 285 - read more on this paper
Smooth Cotton 300 - read more on this paper
Matt Ultra 240 - read more on this paper
The pack also contains 1 sheet of each in A4 size to assist you in profiling. You can use any printer that is upwards of A4 and is a back-fed printer. Fotospeed Panoramic Paper cannot be used with Duplex fed printers.
Once you have tested your prints on the wide range of papers in the test pack, you can decide which paper best suits your images, and can then purchase the desired style you want for future printing.
If you want to know more about printing on our panoramic papers, feel free to drop us an email or give us a call.
Read more blogs here and sign up to our Newsletter here.

