Top tips for Printing greeting cards at home with Tony Worobiec

1) The joy of producing a unique personalised card.
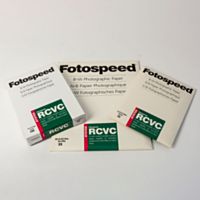
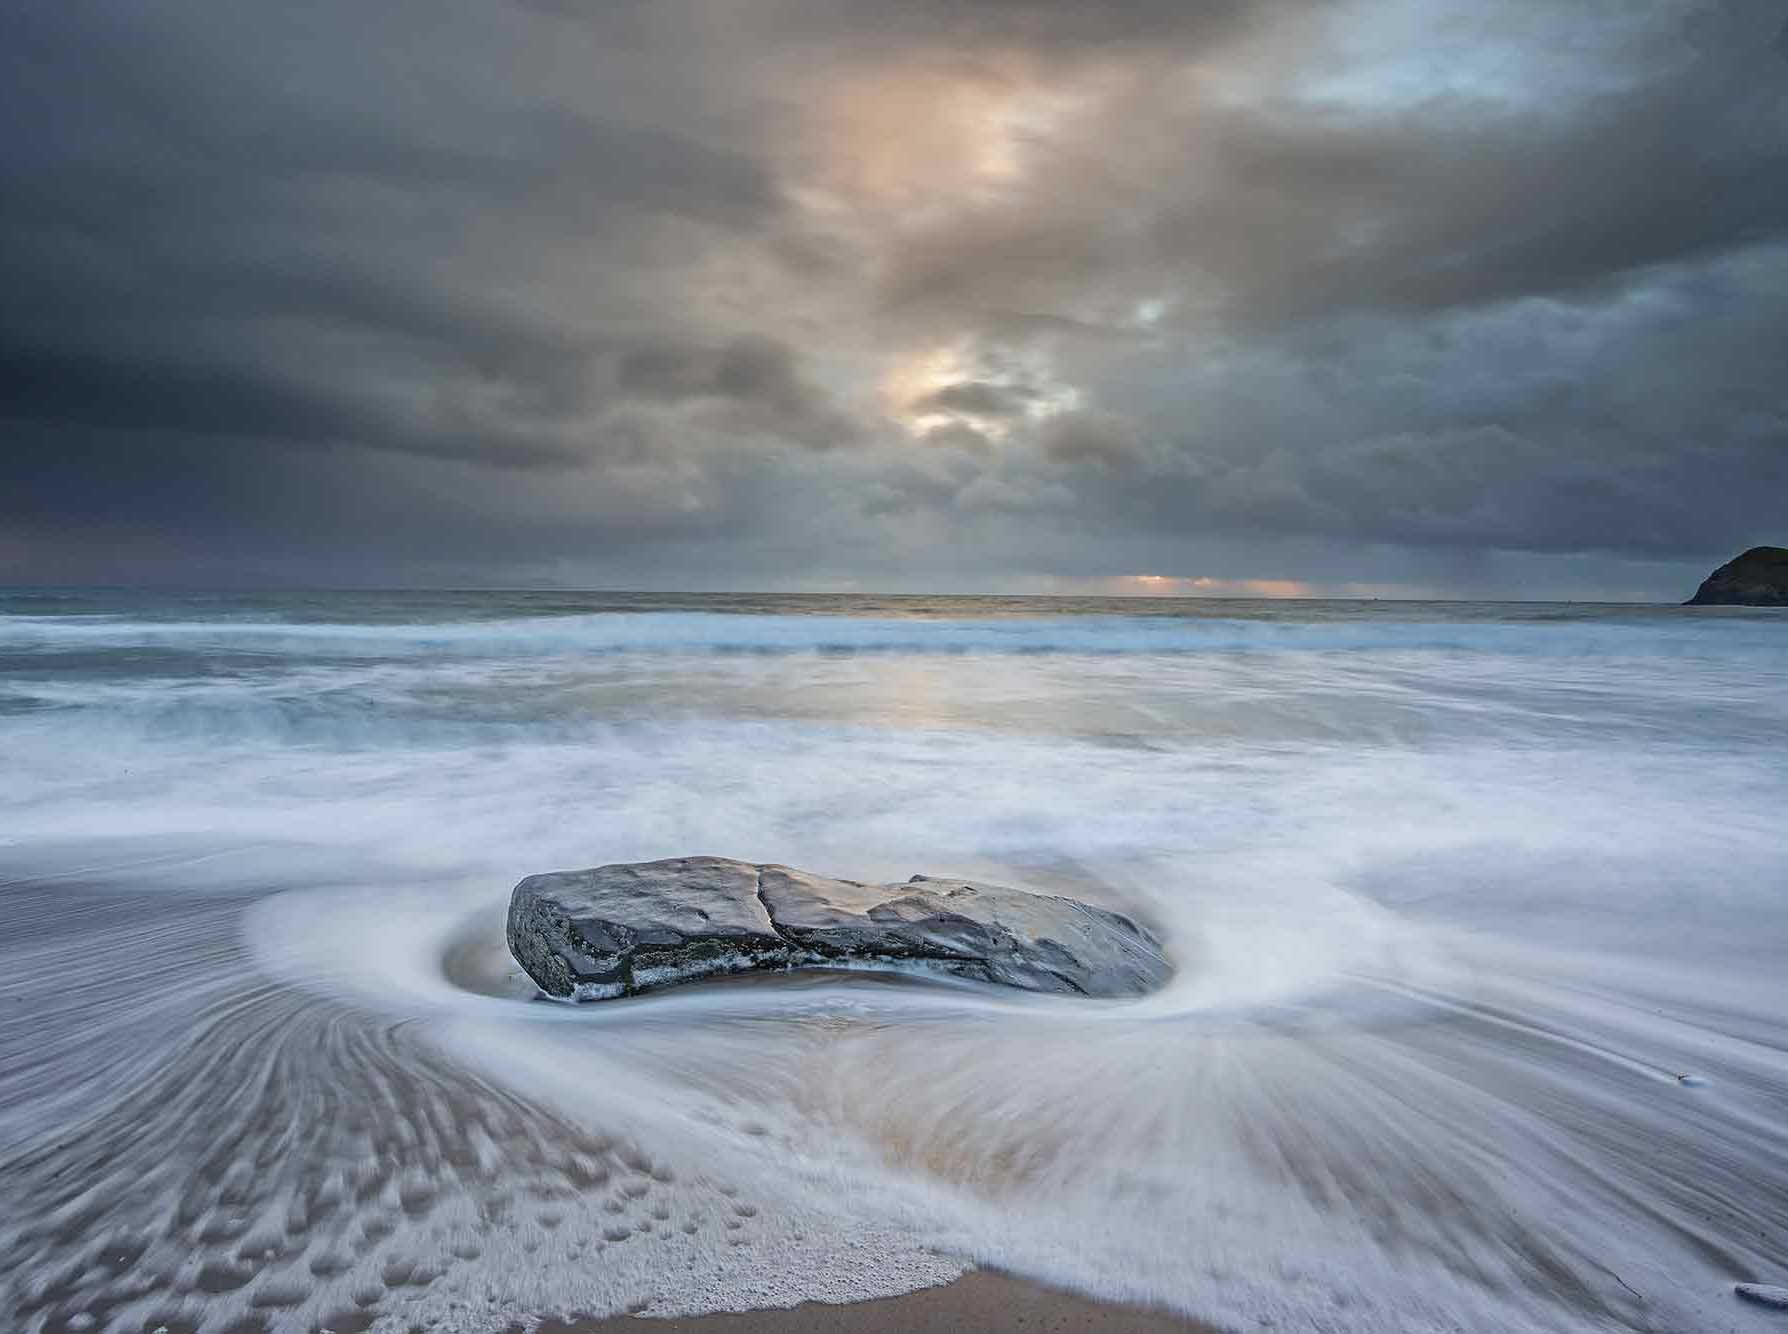
With Christmas on the horizon, I cannot think of a better way of delighting friends and family than sending them a personalised card featuring one of your prized images. The picture might reflect a charmed moment you had spent together, or illustrate a location that is dear to you both. Tired of scouring stationery departments trying to find a greetings card I actually liked, when I saw that Fotospeed were producing a range of pre-scored "Fotocards",it proved to be a godsend. Over several years I have produced a variety of cards, be it for Christmas, for somebody's birthday, or just a "thank-you" card. I'm delighted to say that the response from friends and family has been very positive. The Fotocards package comes with the appropriate set of envelopes whilst each of the sheets are professionally scored.
2) Producing a card in portrait format.
If you have never done something like this before, then I would advise you to start with an image in portrait format. You have a choice of "finished size" of either A5 or A6, (which of course means that the sheets you will be using are either A4 or A5). If you want to make an impact, opt for the larger size. To prepare your image in Photoshop, go to File > New, and in the dialog dial in Height 210mm and Width 297mm, (i.e. the standards dimensions equating to A4.) In the Custom box select White (You do of course have the option of selecting a colour other than white, but you might find that an alternative colour will overwhelm the appearance of the card). With respect to Resolution I would opt for the usual 300 dpi. When you are satisfied that your dimensions are correct, Hit "Create" and a blank white rectangle will appear on screen. With your Background Layer sized to A4 whilst your image has been sized to A5, simply apply an Edit> Copy, Edit >Paste to your image, then use the Move tool to position the image to the right of the Background Layer.

3) Producing a card in landscape format.
Many of us produce our images in the landscape format and fortunately the process is very similar to producing a card in Portrait format, except it is important that when creating the New File, you ensure that the dimensions are Height 297mm and the width is 210mm. Essentially it is then a matter of following the same procedure as when producing cards in portrait format, except that it is important that you import your image into the lower half of the Background Layer. Sometimes importing the image into the Background Layer doesn't provide a perfect fit; it could be out by a millimetre or two. If that is the case then make your imported image fractionally larger. Far better that a very small part of the picture goes over the spine rather than reveal an obvious tell-tale white line. Occasionally when printing in landscape format the card ends up slightly "doing the splits". That problem is very easily resolved. After it has dried, place your card in its envelope and then place the envelope and card in a book for a couple of hours; it will come out wonderfully flat.
4) Producing a card in square format.
Many of us are printing square format and fortunately Fotospeed have catered for that as well; it comes in a finished size of 5 inches by 5 inches, which is certainly large enough. With 50 sheets per package, you will have plenty of opportunities to indulge this particular format. When creating a new file you can opt for either a portrait format and place your imported image in the bottom half of the paper, or you may prefer to use a landscape format and put the image on the right hand side. You will however need to be aware that the dimensions of the card you will be printing on are 10 inches by 5 inches so in order that your printer gets the correct information you will need to create a bespoke Paper Setting. This is achieved by going to the Printer Properties > Page Layout > Size> User Defined. At that stage simply add 10"x 5"in "Paper Size" and "Output Paper". This principle also applies to the new Panoramic format i3 cards Fotospeed are currently producing. If you do experience difficulties remember, Fotospeed have a very helpful technical department who will be more than delighted to help you.

5) Introducing a white border.
If you wish to introduce a white border, then you might be advised to use a grid. In Photoshop, go to View > Show > Grid which has been set to Gridline 1 Centimetre, Subdivision 1. A black one-centimetre grid will cover your new file. This makes positioning your image so much easier. Let's call this the Background Layer. Next, select the image you wish to use and initially size it to A5. With the image still active go to Select > All, then activate the Background Layer and go to Edit > Paste Special > Paste In Place. This becomes Layer 1. With Layer 1 still active go to Edit > Transform > Scale and incrementally reduce the size until you have achieved the width of border you require. In these situations a grid does help.
6) Design your own personal logo and adding text.
If you wish to add text to your card, for example you may wish to title it, or possibly dedicate it to somebody special, then it should appear on the back of the card. If you are using an image which is in portrait format, i.e. the background appears in landscape format, then place the text on the blank area on the left hand side. If however you are printing an image in landscape format (i.e the background layer is in portrait format, then you will need to add the text at the top of the sheet of paper up-side down. When you fold the card, the text will appear corrected. Positioning the text is a matter of personal choice, but should you wish to place it perfectly centre on the back of the card, then once again apply the Grid and use the Move tool; remember, this does create a third Layer. Finally having purchased a packet of Fotocards, one assumes you are intending to print a series of images; in which case why not design your own logo and add that to your text?

7) Choice of paper.
No doubt mindful of the popularity of Fotocards, Fotospeed have expanded the range of papers for the A5 and A6 range. In addition to NST Bright White they have added NT Bright White, Smooth Cotton, Platinum Etching, Legacy Gloss, Platinum Gloss Art Fibre and Platinum Cotton. In short you are spoilt for choice . I have to confess I am still smitten by the NST Bright White; it has a sumptuous art-paper feel and look to it, and would certainly compliment your finest images. What I especially value is that you can easily sign your signature in pencil when using this paper which can add a certain hint of "class". The 5" x5" Fotocards are available in the Matt Ultra 240 which is a smooth, middleweight paper not dissimilar in feel and appearance to the card one normally sees on commercially produced greeting cards.
For more printing tips and tricks, sign up to our monthly newsletter!

