Currency

Printing with Fotospeed's Panoramic Papers & Creating Custom Paper Templates in Lightroom
Categories:
Fotospeed Photographers
25/Jun/2020
Doug Chinnery is a professional teacher, printer, writer, and photographer based in Nottinghamshire, UK. He specializes in landscape photography and teaches a variety of workshops, including one on printing and colour management for the Fotospeed Academy. Doug believes that to get the best out of your photographs, they should be printed well, and so here Doug explains how best to print your panoramas on Fotospeed’s Panoramic Paper.
I shoot a lot of panoramas in my work, both combining exposures in software (now a feature of Lightroom CC as well as Photoshop, a welcome development!) and by cropping a single image to a ratio which yields an image with the characteristic panoramic 'letterbox' format. Fotospeed, being the innovators they are, are the only fine art paper company I am aware of who provide custom made panoramic papers.

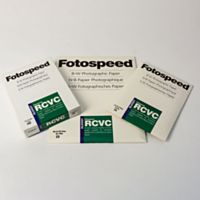
Fotospeed’s Panoramic paper range is available in most of its paper types, so you can choose a pack in your favourite paper, or, if you want to experiment, you can buy a test pack which will have four sheets of each of their papers for you to try out. The range includes: PF Lustre 275, PF Gloss 270, Photo Smooth Pearl 290, Platinum Baryta 300, Platinum Etching 285 and Smooth Cotton 300.
They also include in the test packs, very thoughtfully, a single A4 sheet of each paper so that you can print off their pdf test chart to post to them and create a custom ICC profile for your system. I really recommend you take advantage of this free service from Fotospeed rather than just downloading the generic ICC profiles from their website as the custom profiles will save you ink and make proofing much, much easier. The cost of the A4 print and the stamp is well worth it, and will be recovered very quickly in ink savings (as well as the reduced stress when you have a tricky image to print!).
For the image I’m printing here, I already have custom profile for the papers I selected. My choice was Fotospeed’s Smooth Cotton 300 paper, as it was ideal for this particular panorama. The image is subtle in colour and the sand has a warmth to it, reflected in the paper. There’s not a lot of very fine texture to the photograph, so the smoother surface is preferable to a paper with a rougher surface like, say, Platinum Etching 285, which I love for images with lots of detail. To print your panorama, the first thing you have to do is set up a custom paper size template in Lightroom. Rather than write instructions, I’ve created a short video below where I talk through the process and also give you a few other tips. I hope you find it useful! Remember to click the cog icon in the bottom right corner of the YouTube video and set the resolution to 1080HD to get the highest quality video!
Click here to see how to print to non-standard paper sizes in lightroom.
The print came out beautifully, the quality was exactly as I would expect from my combination of the new Canon ImagePROGRAF PRO-1000 printer (also supplied to me by Fotospeed) and the Fotospeed SC300 paper, using the genuine Canon Lucida inks.
The great thing about printing on these panoramic papers is not having to print on a full sheet of A2 or A3 paper and then having to cut it down after. I often found myself either printing two images on one sheet just to use up the paper - the second image not really being one I needed but printing it just to feel I was using the paper wisely – or just printing one image and then having this odd sized bit of paper left that never really got used in the future. The panoramic paper now gives me a quality option, which saves time, and enables me to just get on and print my panoramas without fuss.


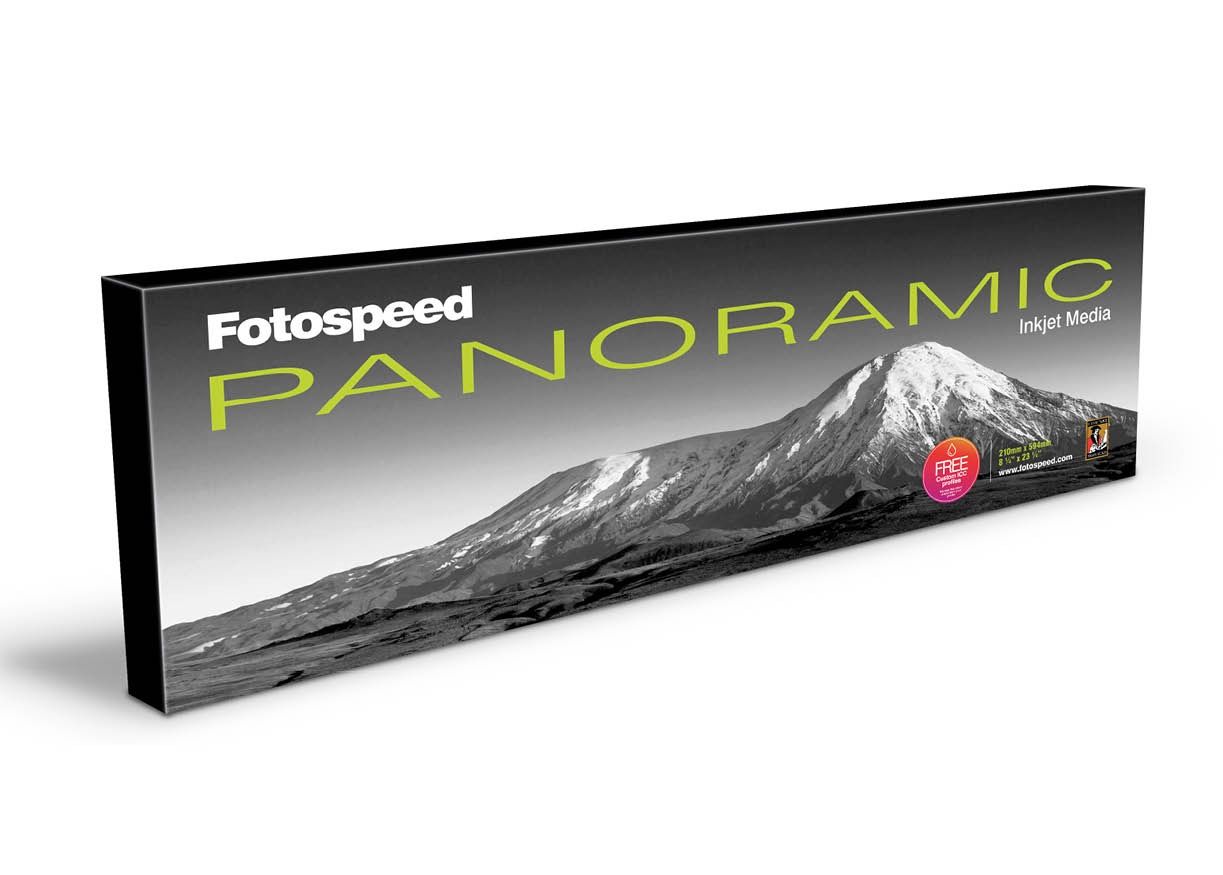
Also, by making the paper 210 x 594mm in size, it means you can print panoramas without having to use a roll of paper, and the 210mm width means they can be printed even if you only have an A4 printer – Fotospeed have thought of everything.
If you want to learn more about hard and soft proofing you will find some helpful tips and tricks on my blog. I’ve also produced three 90-minute webinar videos on the whole subject of colour management, calibration, sharpening, soft and hard proofing, paper choice and printing. You can find them on my website under the titles 'Printing & Colour Management parts 1 to 3'.
You can see the range of Fotospeed’s panoramic papers on their website, as well as a downloadable guide on how to use their panoramic papers with Photoshop.
If you would like to stay on top of all the latest information from Fotospeed don't forget to sign up to our Newsletter.