Currency


Sharpening images for print by Tim Jones
03/Feb/2023
When I am teaching on the Fotospeed Academy one question that keeps coming up and is covered in our Advanced Printing class is, ‘how should we sharpen our image file for print and how does this change for different papers?’ I have to say it is another hard question to answer, but in this blog and the accompanying YouTube video I want to investigate a few options when thinking about sharpening our images.
Start with a sharp image
When thinking about sharpening my first tip and most important one would be to start with a sharp image. With sharpening less is more so if we start with a shot that is in focus in the first place then we are 80% of the way there. However, in saying that, by the very nature of a camera's workings, be it Digital or Film there is always going to be softness added to the record image. On film this could be down to the film speed used and the grain of the film. In digital there will always be a softening of the saved image even if you shoot RAW. This is down to the way the camera captures the image on the sensor and in most cases, we will need to add a small amount of sharpening to recover this softening. This process is normally called capture sharpening and will often take place automatically in your RAW converter as a default point of sharpening. In most cases I have come across if the image was in focus when you captured it, this small amount of input or capture sharpening will be perfect for screen use.
Using Sharpening as a tool
Sharpening is also a powerful tool to use in your editing process. It can draw attention or bring out certain details to make our pictures more interesting. This technique is called creative sharpening and it uses sharpening options as a creative tool. The creative sharpening process normally involves masks and localised adjustments. This could be used to increase the out of focus depth of field effect on a close-up portrait or to make sure one section of our landscape has a little more sharpening creating more depth in the image.
So how much extra sharpening?
When we are talking of sharpening a print, we are normally speaking about a globe adjustment that will affect the image as a whole and adjusting this amount of sharpening depending on the paper we use.
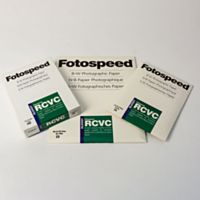
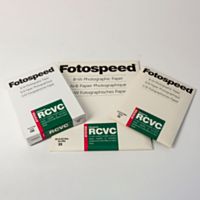
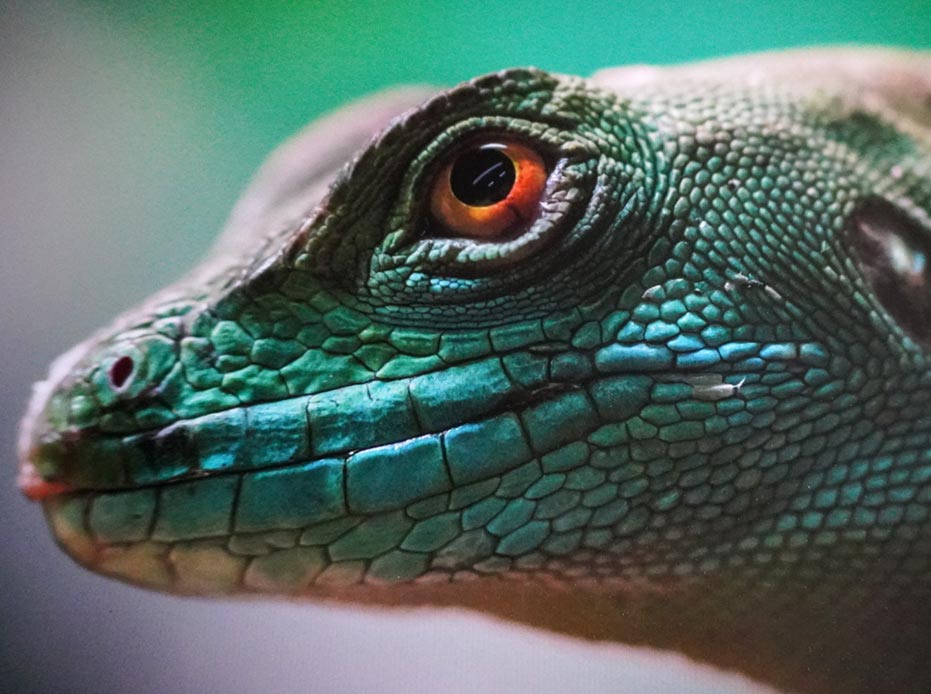
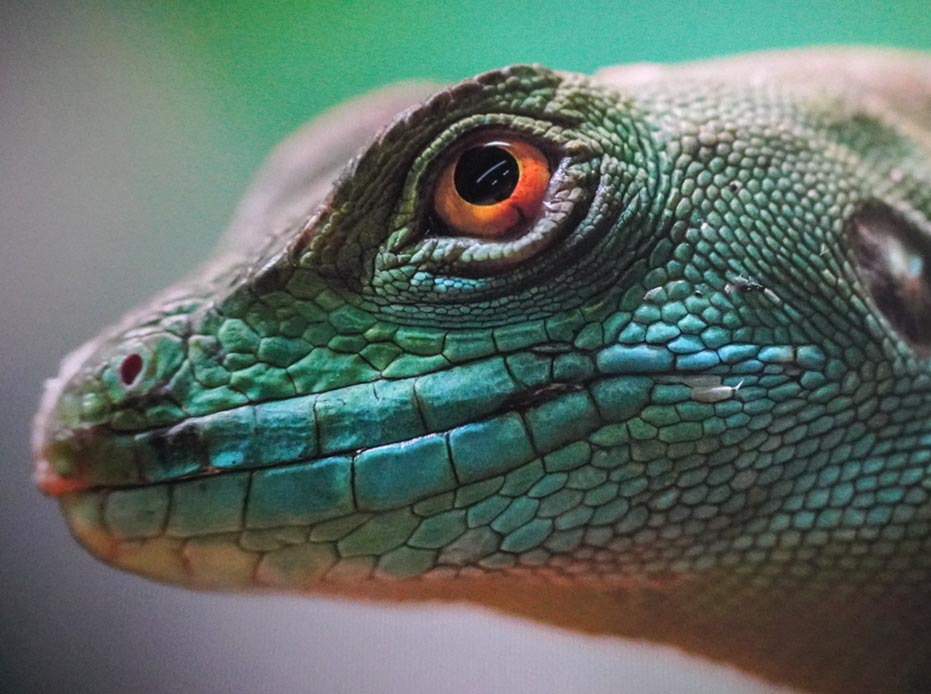
The amount of sharpening depends on the paper we are using. For example our PF Lustre paper will require less print sharpening than our Matt Smooth Cotton paper. This is due to the makeup of the paper and the way ink interacts with the paper. In the picture below I have made some basic sharpening adjustments in Lightroom and printed an A3 print on PF Lustre and Smooth Cotton.
You will see from the prints that the PF Lustre has nice contrast, and the sharpness is good. However, on the Smooth Cotton the print is a little flat and very slightly softened. This means that we need to add a little more sharpening if we would like the print to match the screen better.
|
PF Lustre 275 |
Smooth Cotton 300 |
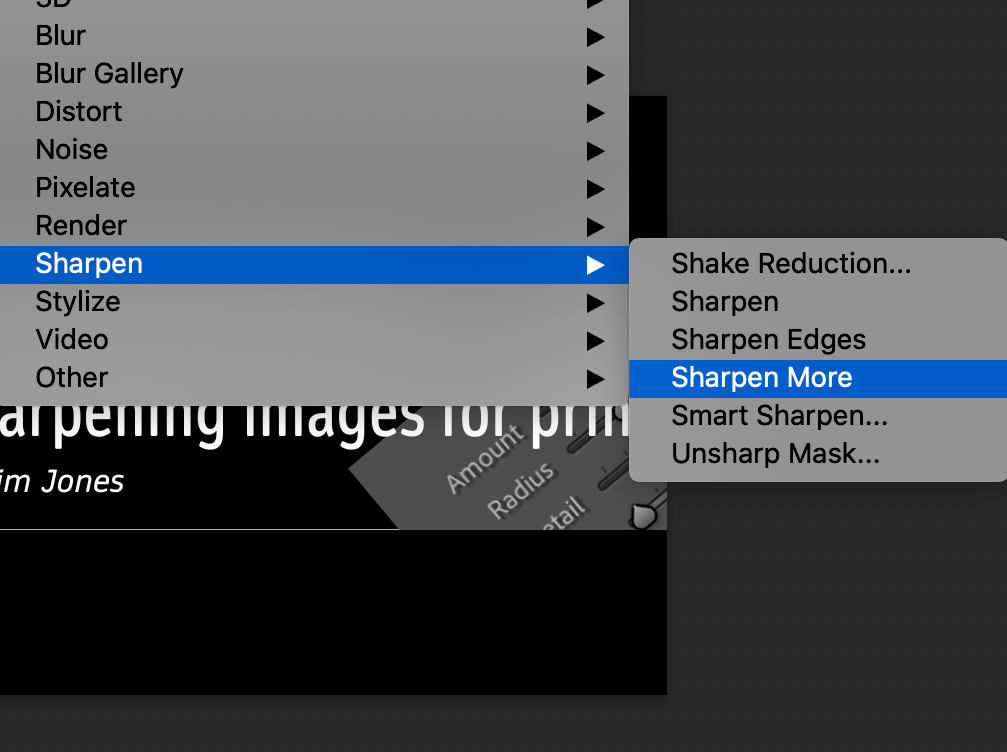
How do we Sharpen?
| There are a lot of ways to sharpen your prints, from, the High Pass Filter, Camera RAW Filter, Lightroom Development tab, 3rd party plugins like Topaz and the Unsharpen Mask. Each of these tools will sharpen your image for print but it comes down to which of these tools work best for you. I like doing my sharpening in Lightroom but would happily use the High Pass Filter in Photoshop as well. For basic screen sharpening I normally set the amount to 20 points, the Radius to 1 pixel, Detail to 25 points and I will use the Masking option to taste depending on the image. These settings usually give me a good starting point but these maybe different for you. | 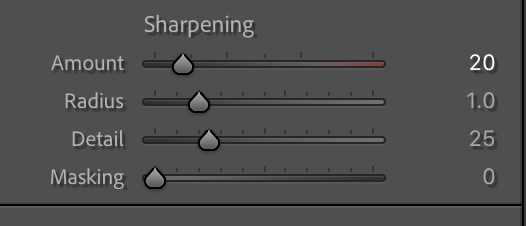 |
Final thoughts
 |
Sharpening is something that we shouldn’t overlook, when thinking about printing it can be used as a powerful tool in our editing process. Modern editing programs like Photoshop and Lightroom make the process a little easier and the 3rd party plugins can simplify the process even further. If you want to learn more about printing head over to our YouTube where Tim has made a whole video exploring sharpening. Don’t forget to subscribe to the Fotospeed newsletter and if you haven’t already downloaded the free ebook from Fotospeed called the Art of Printing, just click the link below. |