Currency

How to create the perfect photo book with Alex Hare
03/Nov/2021


A photograph is not merely a click of a button; relentless thought and consideration goes into the angles, lighting, composition and setting. So, why should we snap a picture, forget about it and move on?
We shouldn’t.
Of course, if you’re like me, you’ll post it to social media, only for it to get lost under dozens of other photos, or even hang up one or two of the best ones -- but even with the latter, we only have limited space before things get a little crowded. That’s why I’m here to tell you that, when it comes to having a lifelong memento of your work, bookmaking is the way forward -- and it’s simpler than you think.


Why should I make my own photo book?
As I’ve mentioned, making your own photo books is a great alternative way to display your photos and give them some longevity. Not only that, but they can be a great way to inject some of your own personality; think about the front cover, the inside pages -- it’s not just about the actual pictures, but also what elements accompany them. Additionally, photobooks make a great talking piece; unlike a framed picture or Instagram post, photobooks can sit on your coffee table for guests to peruse and enjoy. For me, having something that showcases my work that I can physically hold is the best way to conclude the creative process. It’s a nice extension to photography and goes hand in hand with printmaking, so it’s worth it if you like a unique way to display your work that is entirely your design and craftsmanship.


What do I need to know?
Just like arranging a shoot, it’s important to consider what you will need before you get started. For book making there’s many things to take into account so first, ask yourself what the theme of your photo book will be or what kind of story you want to tell -- this may determine such things as what photos you pick and thus what paper you choose to print on. It’s important to consider the tones and themes you will want to use. Additionally, you’ll need to consider the equipment you’ll need. Generally, when getting into bookmaking, the essential kit you will need is:
● Screw punch
● Binding thread
● Clips
● Binding Needles
● Paper scorer
● Ruler
● Cutting mat
● Paper for the pages
Most of the aforementioned tools come with Fotospeed’s Japanese Stab Binding Book Making Course or you can get a shopping list when you join my Concertina Book Making Workshop run with fellow Fotospeed ambassador Lizzie Shepherd.
How do I get started?
Getting started with bookmaking can seem a little daunting at first, but luckily Fotospeed offers some great courses if you need a little bit of a push. The Japanese Stab Binding Book Making Course teaches beginner to advanced techniques to create beautiful photo books, taking into account everything from editing your images to stitching the pages together.
On the flip side, Fotospeed also has some ready-made albums for you to experiment with, such as the Black Cloth Easybook. It may be worth trialling out arranging your photos in a book such as this to get a little more of an idea on what kind of design or style you’re after for the interiors of your book. Of course, for me, part of the reason I enjoy bookmaking is due to the craftsmanship and creativity that goes into it, so it’s definitely worth trying out!
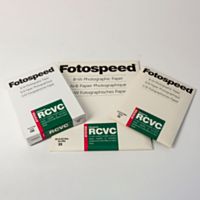
What paper should I use?
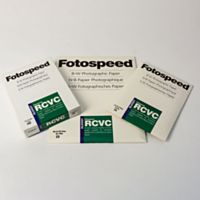
Like with any photograph you choose to print, the paper you print on can make all the difference -- but this is entirely down to personal preference. For me, the Fotospeed Matt Ultra and High White Smooth Duo are brilliant options; they feel great as you turn the pages but they are thin enough to allow for many pages in a book too. They also come as ‘Duo’ or two sided options so you can make pages with prints/text front and back. It’s also key to think about what type of photos you want to include; matte papers such as the Matt DUO 240 are great for accentuating detail in landscape photos, whereas for portraits, you’ll want something smoother, like the Legacy Gloss.
Something useful to try out would be Fotospeed’s Test Packs, which allow you to experiment with various different types of paper.


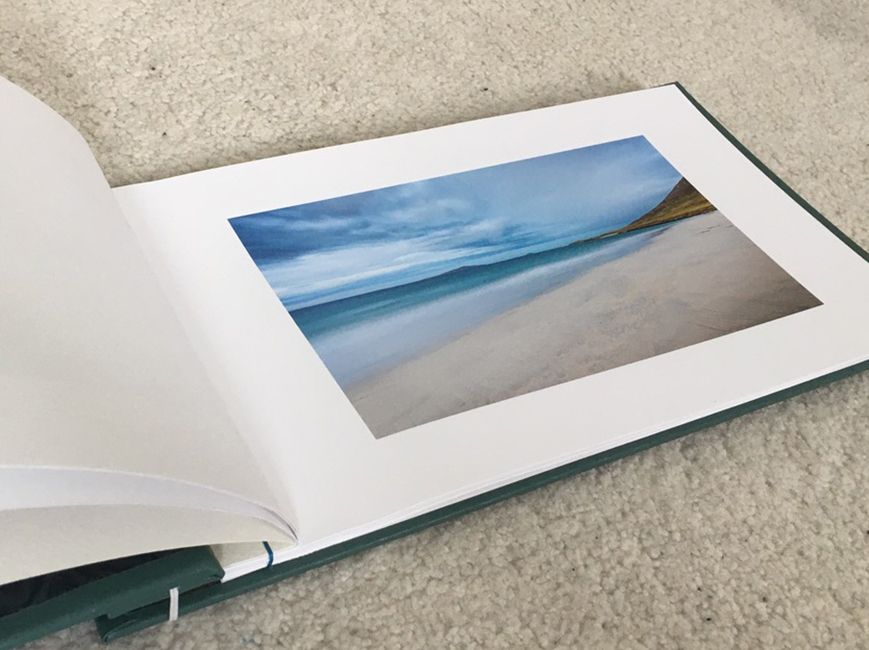
What do I need to consider for the design?
So, you’ve got all the equipment and tools you need; the last thing to think about is the design of your photobook. I like my photo books to represent an element of myself or to tell a story, so there’s a few things to ponder; what sequence should I put my photos in to tell a story? Do I want them in portrait or landscape (or both)? It may be as simple as discerning what order and style looks best, but without a sequence to your photos, you run the risk of presenting seemingly unrelated photos in a random order.
Once you’ve established the sequence of your photographs, it’s time to add a bit of creative flair, and this is where it comes down to the individual. Do you want words in elegant calligraphy accompanying your photos? Or perhaps you could include mementos, drawings or artwork that correlate to a particular photograph. Remember that when it comes to creativity, it’s completely in your own hands.
For more tips and tricks or to take a look at my own photography, check out my website.
Want more tips and tricks? Sign up to Fotospeed's newsletter for the latest insights, sent straight to your inbox.