Currency
Cyanotype and Surrealism without a Darkroom with Tim Jones
20/Jul/2022

I have been waiting for this month's theme of surrealism to come around since the start of the year. For those of you who know me, thinking differently is what my work is and has been about for a long time. For this week's blog, I wanted to think about using the cyanotype technique to create photograms in the style of the early surrealist artist of the 1920s. Now, I know you can do these techniques digitally, but where’s the fun in that?
Before I dive into making the prints and coating paper let me talk a little about surrealism and what the movement meant to photographers.
What is surrealism photography and How did the Surrealist movement begin?
The Surrealist movement came about just after the First World War and was brought together by French writer Andre Breton. Breton published the first Surrealist manifesto in 1924. Within the manifesto, Breton rejected the “normal” way of seeing the world and brought dreams and imagination to the forefront of Art. By embracing the dream state, art could free itself and discover the power of the subconscious.
This was a particularly interesting time for photographers. While a photograph typically depicts the real world as a scientific object, the dream state could be easily accessed and depicted by painters or writers as they can draw, paint or write whatever their mind presents. But the photograph presented more of a challenge and a new way of thinking.
I’d argue that Surrealist photography straddles two art forms. One is the constructed image, and our Ambassador Mike Martin has written a fantastic blog on this. The other is exploration into seeing objects and images in new ways. Breton used the phrase “There is a man cut in two by the window" meaning that Surrealism tried to simultaneously show “two distant realities”.
Man Ray was one of the pioneers in this new movement and is probably the Surrealist photographer we think of first, when looking at Surrealism. Mann developed photogram techniques by placing normally everyday objects onto photographic paper to create a new way of seeing the everyday. Mann Ray coined these works “Rayograms”. He also introduced a new technique to the world in the form of solarisation. This technique is credited to both Mann Ray and Lee Miller. The story goes that Lee Miller accidentally turned the darkroom light on while a print was developing. Thus exposing the print light a flash of light and reversing tones.
Using cyanotype for surrealism photography
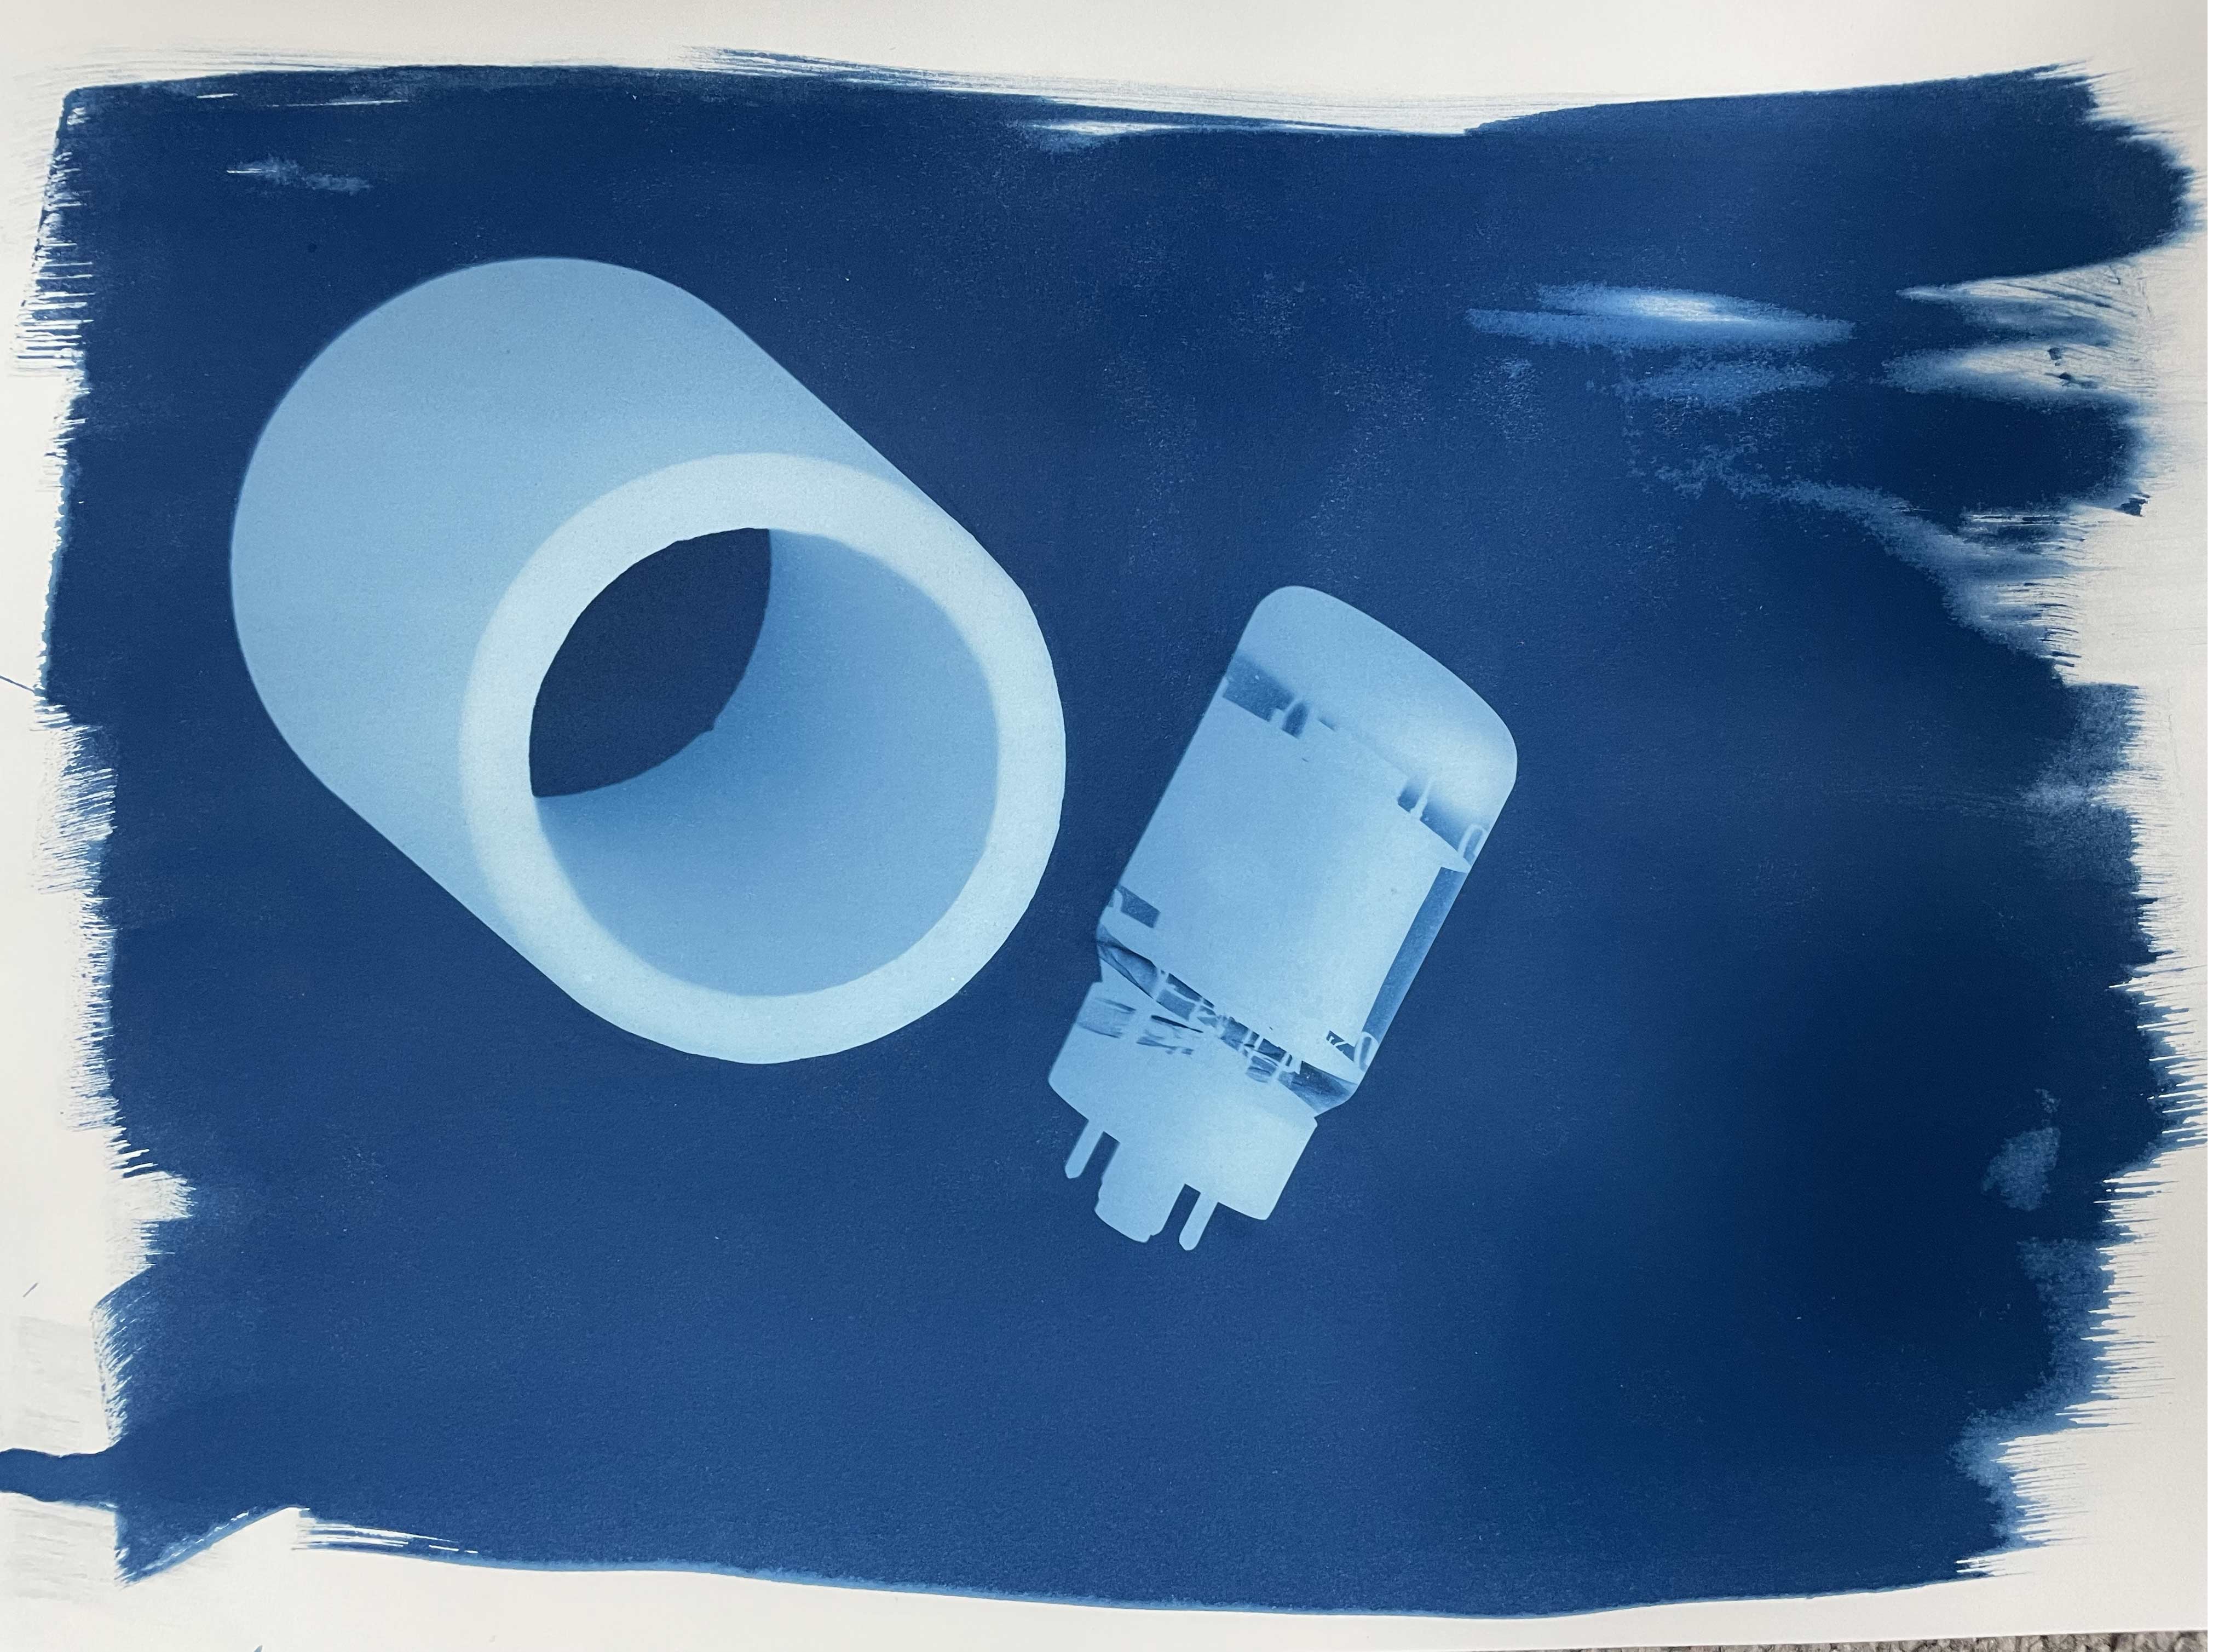
For my pictures, I was interested in Man Ray’s photograms and how he made the normal and the everyday look strange and other worldly. I wanted to do this in a way that everyone can do at home without having a darkroom or expensive enlarger. So, I have chosen cyanotypes for my experiments in the world of surrealism.
What do you need for cyanotype surrealism?
The first item you will need is the object you would like to photogram. I picked a selection of solid objects and looked through them, but you can also use digital negatives as a background.
Step two is to prepare the cyanotype papers. For this process, we highly recommend the Fotospeed cyanotype kits, which simplify the process. The kit includes digital contact film, acid free paper, cyanotype sensitizer, and a brush to apply it – everything you need to make your first cyanotype and photomontages.
How does the cyanotype process work?
In a darkened room, apply the sensitizer and leave to dry in the dark. While you’re waiting for the paper to dry, you can start to cut up the negatives. When cutting up the negatives, look for the whole object that you can use as anchors within the montage, and also look for parts of the object that you could use to add to the surreal nature of the scene. Again, try not to think too much about the scene – we want to develop an automatic and subconscious approach to the picture.
|
 |
How to make the cyanotype print
Once the sensitizer is dry, we are ready to start making our photogram or rayogram. The process is fairly simple. Take your objects and unexposed papers outside, making sure to put the unexposed paper inside a box or bag to protect it from the sun until you are ready to use it. Next, take out a sheet of paper and place it facing up on a table or flat surface, then place the object on top of the sheet. Now we will leave the photogram to expose.
To give an idea of exposure time, I’m normally looking at eight minutes in bright sun but this can vary, so do a couple of test firsts. Always remember that the prints will dry a little darker as well.
Once you have made the exposure you will need to wash the print in running water for about 10 minutes. After this, leave it to dry and there you will have your first cyanotype rayogram.
Man Ray’s photograms shine a new light on objects that we see everyday. Moving them into another dream-like world. I believe that the forms created have a Surrealist quality although strictly speaking they can be called Dadaism and “ready mades”. But I won’t get into that debate here.
The main thing is to have fun and experiment with photography.
Want to learn more about cyanotype, surrealism, or other types of photography? Sign up to our newsletter for the latest insights from the experts at Fotospeed!
You can also check out some of our other blogs for more tips and tricks.